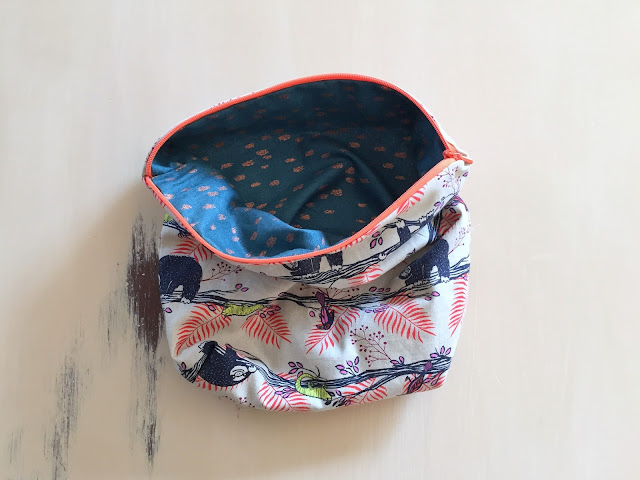
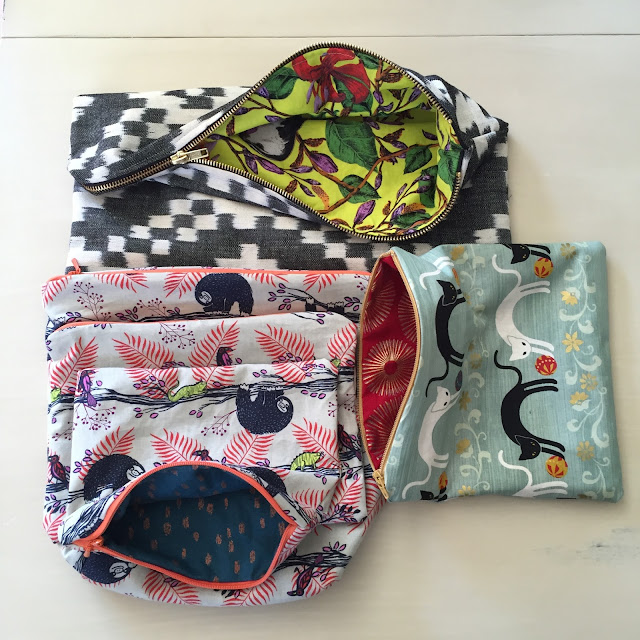
So I've wanted to learn how to put in a zipper for awhile, but I had this idea that it would be SUPER hard (it's not) and I finally took the time to figure it out. I read through a bunch of tutorials and tried several things and here is what I've found to be the easiest way. They come together really quickly, especially with the shortcuts I'll show you. Get ready, you're going to want to make all the pouches!
Step 1. Gather your supplies:
- fabric of your choice, in two patterns if you want contrasting lining. The bags can be as small or large as you like so this is a great way to use up scraps although I went a little crazy and bought 1/4 yards of several fun fabrics.
- coordinating zipper in the length you want your pouch to be. I like the ones with acrylic zipper teeth but I also did one pouch with a big ol' canvas zipper. It's all about personal preference!
- scissors
- pins
- thread and sewing machine
- optional: quilting cutting mat, clear rulers and rotary cutter.
If you need to it is easy to shorten your zipper. Just close it and sew a new stop at the end of the zipper by going back and forth a few times over the zipper where you want it to end and then cut off the excess.
Step 3: Lay one piece of lining fabric right side up, then lay the zipper facing up along the top edge, and lastly lay one piece of the outside fabric on top right side down. Like so.
Step 4: Pin these three layers together being as precise as you can about lining up the corners and edges. Sew it up. If you get this seam right everything else goes really smoothly. If it isn't perfect though, don't stress, you can make it work even if things are a little wonky.
Use your zipper foot so you can get your stitches close to the zipper. You can press the fabric down as you begin to see where the zipper edge is and then follow along it. I found mine tended to line up with the 3/8 seam allowance marker.
Step 5: Repeat Step 4 on the other side of the zipper.Step 6: Open up the pieces so that the right sides of the outer fabric are facing each other and the right sides of the lining are facing each other with the zipper open halfway.
Step 7: Sew using a 3/8" seam leaving a small 1"-2" opening somewhere in the lining so you can turn it when you're done. You can pin all the way around if you like, but I don't.
Turn the ends towards the lining sides when you sew over them.
When you get to the corners slow down and reduce the stitch length to 1 to reinforce the corners.
Step 9: Turn it all right side out through the opening in the lining and then sew the opening closed and tuck the lining back into pouch.
Step 10: Push out the corners from the inside and smooth out your seams and WA-LA! Zipper pouch!
 |
| The sloths! I cannot get enough of this fabric! |

I'm excited to give these as gifts to some of my favorite ladies for Valentines Day! Please comment if you have any questions, and happy sewing!
Linking up


Post a Comment
Now you say something!